RC Gloster Gladiator Construction Photos
This page shows details of the RC Gloster Gladiator assembly. The fuselage was built the old fashioned way, using pins but the wings used magnets and a steel surface.
RC Gloster Gladiator Fuselage Details
First build 2 identical fuselage sides. using the 1/4" thick balsa parts and the 1/4" square balsa sticks.
These are joined together with formers and more 1/4" square balsa sticks.
External formers are added and the front area is sheeted with 1/8" balsa. Note that the stringers are made from 1/8" diameter dowel. This is strong and close to scale for an RC Gloster Gladiator.
Note that each photograph can be enlarged by simply clicking on it. You can then, zoom in any where on the image and pan left, right and up and down.
There are 70 images on this page, which may make it slow to load but I think that is worth it!


Wings


Tail Section
The fin/rudder assembly and both tailplane halves are bolted on. This gives a more scale appearance and makes replacement very simple. Be sure to use blue Locktite on all the 4-40 socket head cap screws used.


Links to RC Gladiator Pages
Details of the plans and more can be found by clicking-
RC Gladiator (CAD drawn plans-PDF and paper)
Gloster Gladiator (CAD drawn plans-PDF and paper)
Gloster Gladiator Profile ( Details of the full size)

Get Gloster Gladiator Profile eBook Free

Don't worry your e-mail address is totally secure.


Recent Articles
-
The Bristol Bulldog vintage biplane, of the RAF, in 1930
May 22, 23 10:47 AM
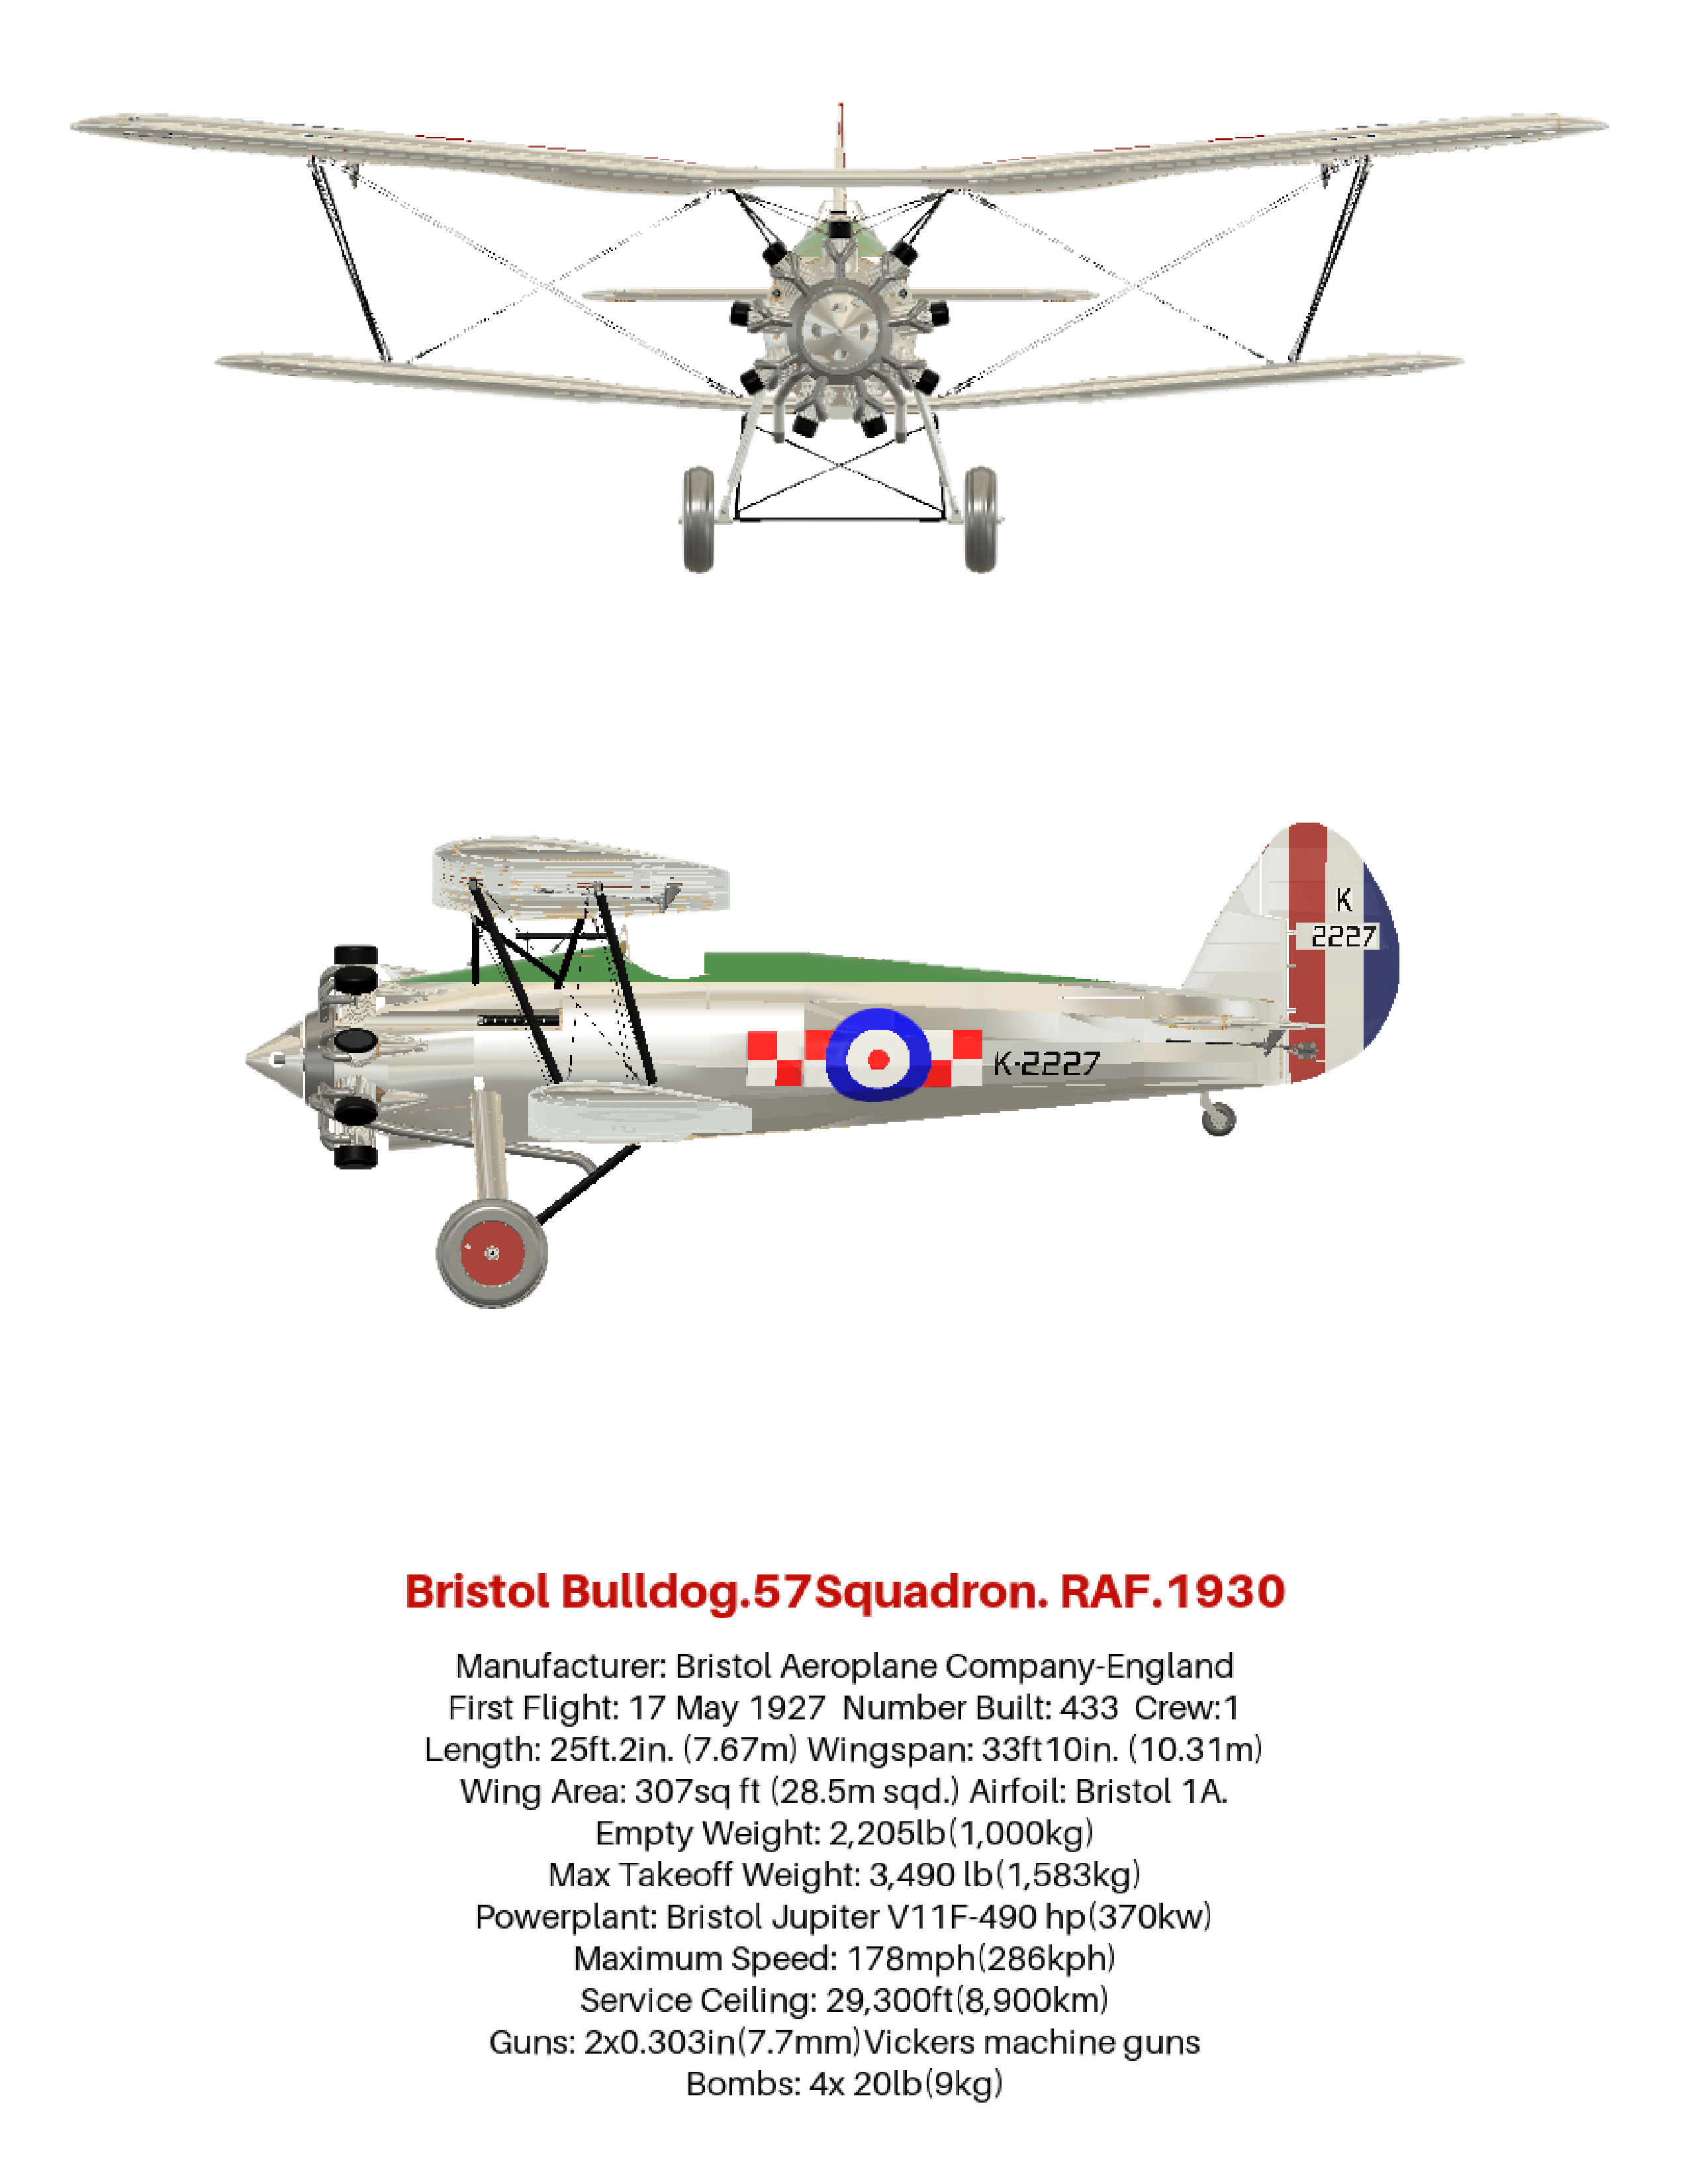 How the aviation art, of the Bristol Bulldog vintage biplane, was produced, using 3D software. Included are photos and links to many aviation gifts, from Zazzle
 -
Aviation gifts For All Airplane Lovers
Apr 20, 23 11:12 AM
 Aviation gifts for every occasion. Give your airplane fanatic friends and relatives the present they will really appreciate! Can be customized to make it truly unique.
 -
RC Retractable Landing Gear: The JP Hobby ER-005 Metal Strut Set.
Dec 19, 22 01:55 PM
 Full details of RC retractable landing gear. For models up to 6 Kg (13.2 lbs). Steerable nose wheel and sequencer for gear doors and brakes. For grass strips.
 -
FLEX RV-8 70CC FLS:ARF and ARFSV.
Nov 02, 22 02:45 PM
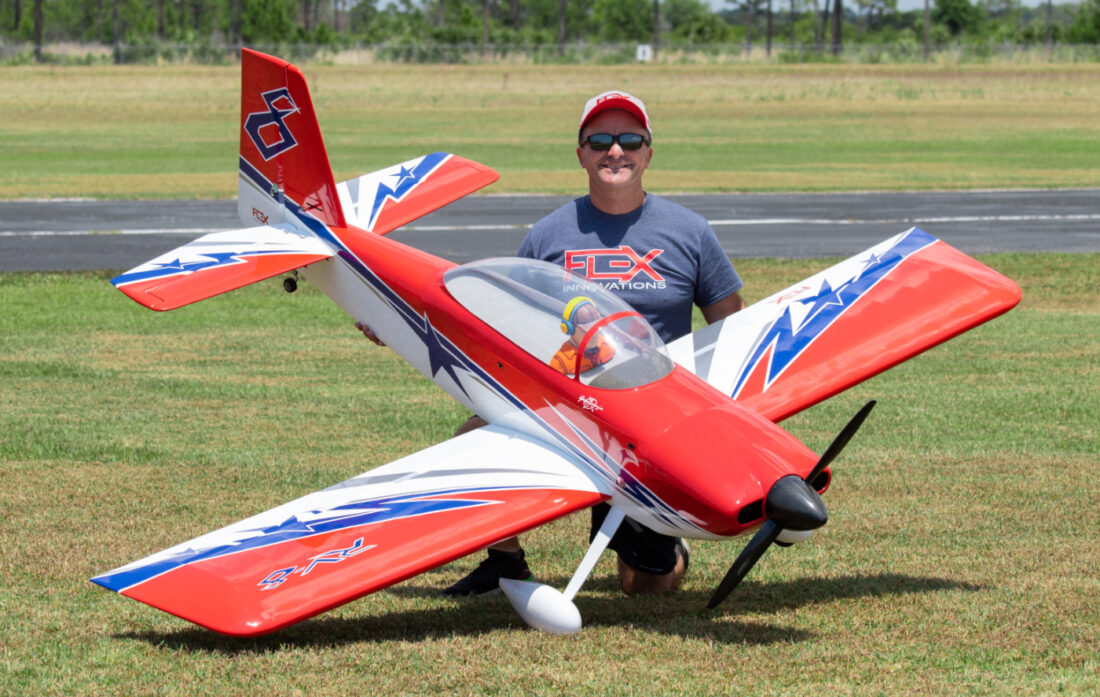 The Flex RV-8 70cc, 35% Scale, 3D RC Airplane. Super lightweight and gas or electric power. Very complete and fast assembly.