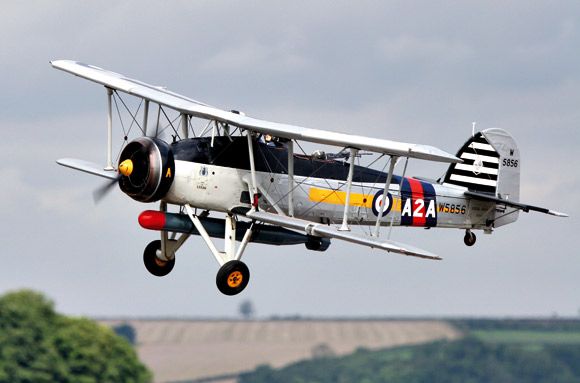
RC Airplane Plans of the Fairey Swordfish 1/6 Scale

Designing RC airplane plans is a part of the hobby that I really enjoy.
I decided to design a larger RC scale model of the Fairey Swordfish, after the success with the smaller version that is described here.
A scale of 1/6 full size was chosen which results in a wing span of 91"(2311.4mm). This is more than big enough for me-the full size WW2 bipe was a big airplane!
Just scaling up the RC airplane plans of the 1/10 scale model was very easy and quick in CAD but changing material sizes and improving (hopefully!) the design resulted in a LOT of work.
As the smaller size model has flown well the aerodynamics such as incidences and balance point are maintained, as well as the folding wing that should make transportation to the flying field easier.
PAGE CONTENTS
Specifications
Fairey Swordfish
- Scale: 1/6
- Wingspan: 91" (2311.4 mm)
- Length: 71.3" (1811 mm)
- Wing area: 2319 sq. in.
- Weight: 23 lbs
- Wing loading: 22.85oz./sq. ft.
- Power: 1.8 Glow, 35cc gas, Power 160,(10S batteries)
- Channels Required: 4 min.
- Servos: (3) - Standard size 120oz.in. torque min, (2) Mini size 100oz,in torque min
- Top wing incidence: +4 deg.
- Bottom wing incidence: +4 deg.
- Tailplane incidence: +3 deg.
- Bottom wing dihedral: 1 deg.
- Top wing dihedral: 3 deg.
- Right thrust: 0 deg.
- Down thrust: 0 deg.
- Sweepback (Upper): 4 deg
RC Airplane Plans-Fuselage Details

Starting at the nose, the radial cowl is constructed from balsa. (See this page for more details of this type of building a radial cowl)
For the electric powered version, the Lipo batteries are mounted inside the cowl, that is split and retained by rare earth magnets.

The oil cooler, on the right side nose, is used as the switch access hatch, once again retained by magnets(Item E62). This hatch also contains the arming switch harness.
The torpedo is aligned with formed wire brackets and magnetically held in position. It is intended to be removed prior to flight but could be left-just watch the ground clearance on take-off and landing!
The fuselage can be constructed "In the air" from the interlocking parts.
The sides are made up from 3/16" thick laser cut parts and the top and bottom are made from 1/8" cut pieces.
All the formers interlock and the sides are scored to allow them to be pulled together at the tail.
Formers are added to the 4 sides,then 1/8" thick balsa sheeting is added to the sides and stringers (1/8 dowels) added to the rear section.
Tail Section

The fin/rudder assembly is bolted to the fuselage with two 4-40 socket head cap screws.
This gives a more scale appearance as well as making any future repairs a lot easier.
You can also see the servos are built in for the rudder/tailwheel (standard size) and the elevators.(2 mini size)
I chose the Spektrum A6150 high torque servo (180 ozin)for the rudder and the Spektrum A5060 Mini (118 ozin)for the elevators (2 required)
The cap screws and servo are accessible through a bottom hatch (F37).
It should be noted that the bottom Robart hinge has a hinge pocket. This allows removal of the complete fin/rudder assembly.
Upper Wing

The upper wing has the correct scale number of ribs and conventional "D"tube construction.
The servos are mounted in this wing panel and I chose the Spektrum A6150 standard size, high torque (180 ozin), high voltage servo.
Construction starts with placing the 3 spar/shear webs (W19,W20 and W21) in position on the building surface. I use a steel plate and magnets to hold things in place, but pins and a conventional building board can be used.
If two ribs are used to space the shear webs apart, then full size plans are not required for parts placement.
All the ribs can be placed prior to gluing. Note that all ribs and the shear webs have tabs built in, to keep everything at the correct height and building blocks are used to pack up the L.E. and the 1/16" ply T.E.
Robart hinge points are used and all the hardware is standard Dubro.
Lower Wing

Construction is very similar to the top wing, but the ailerons are connected to the upper wing. ( No servo in this wing)
The hinging mechanism uses Robart hinge points, as does the upper unit.
Parts Templates

The image above is an example of the full size templates that are provided for all parts.
In the bottom right hand corner is the template number (T12) and the size of the balsa sheet.
For those of you who prefer to cut your own parts, simply cut the template from the RC airplane plan, and paper glue it to the balsa sheet.
See below for the complete list of the material needed to cover all the cut parts.
- 3/16" x 6" x 36" Balsa-5 req'd
- 1/4" x 6" x 36" Balsa-4 req'd
- 1/8" x 4"x 36" Balsa- 1 req'd
- 1/8" x 6" x 36" Balsa-17 req'd
- 1/16" x 6" x 36" Balsa-4 req'd
- 1/4"x 4"x 36" Balsa-1 req'd
- 3/16" x 4" x 36"Balsa-2 req'd
- 1/8" x 12" x 24" Birch Ply-3 req'd
- 1/8" x 12" x 26" Birch Ply-1 req'd
- 1/8: x 12" x 30" Birch ply-1 reqd
- 1/16" x 12" x 12" Birch Ply-1 req'd
- 1/16" x 12" x 30" Birch Ply-2 req'd
- 1/4" x 12"x12" Birch Ply-1 req'd
Please note that this list does not contain the material required for sheeting and the standard stick sizes etc. For this material see the BOM, items E1 - E21.
Wire Parts

The landing gear, cabanes and torpedo mounts are formed from music wire. The drawing shows the developed length of wire needed for each part.
A K & S "Mighty Wire Bender" was used to form all of these parts.
For more details take a look at the page on this site by clicking here.
Details show how to calculate the bending allowance for each bend. Once this is figured out then the wire can be marked up, with a felt tip pen, and the wire bender can be put to good use.

The Oleo strut is manufactured by MrAeroDesign in Quebec, Canada
The price for a pair, complete with the bottom block is $125.00CDN.C
Click here to visit the Mr AeroDesign site and send an email, explaining you would like to buy a strut and the owner of the site will be happy to oblige!
Laser Cut Parts
- We now can supply a set of laser cut parts for the 1/6 scale Fairey Swordfish made from the original RC airplane plans.
- Total number of balsa sheets=34
- Total number of birch ply sheets=9
- Price of the set is $430.00 USD Plus shipping costs.
- If you order through this site, you will receive an e-mail order receipt from PayPal.
- This set is a "short kit" of a large scale model aircraft and includes all the balsa and ply parts, laser cut to shape but no sheet or strip balsa is included.
- Note also that no hardware is supplied.
- Please note that the Swordfish uses balsa and ply construction for the cowl so no fiberglass parts are required.
- If you have any questions. please Contact Us.
Price of the Laser Cut Parts for the 1/6 Scale RC Fairey Swordfish=$430.00USD plus Shipping & Handling Costs
Build Thread
Details will be posted here as soon as a thread is established.
BOM (Bill of Material)

The BOM consists of 7 sheets with all parts referenced.
All the laser cut parts are listed with a reference to the template number and sheet number, so finding a part should be quick and simple
Parts are grouped under the following headings-
- Fuselage
- Tail,Fin,Rudder
- Top Wing
- Bottom wing
- Extras (This includes the stock balsa and materials required and all the hardware)
Ordering Information for 1/6 Scale Fairey Swordfish RC Airplane Plans
- Price of the 1/6 scale RC airplane plans- $75.00USD. (12 CAD drawn sheets 33.1 (841mm) x 78" (1981mm)
- If you order through this site, you will receive an e-mail order receipt from PayPal.
- Shipping and handling of plans for orders within the United States APO- $12.50 USD.
- Orders to Canada- $20.00USD.
- Overseas orders- $28.00 USD.
- If you have any questions. please Contact Us.
Price of the 12 sheets of the Fairey Swordfish 1/6 Scale, is $75.00USD.Plus shipping cost.
RC Airplane Plans in PDF Format
Plans are also available in PDF format. You can take these files and plot them at your local print shop.
I recently got a set printed at the local Staples store that had a wide (36 in.) format printer. Note that the sheets are 33.1" (841mm) wide.
I found them most helpful and I explained that I needed the plans printed exactly full size and they were able to do this after a few attempts.
Note that every sheet has a 16" long scale printed on it. Ask to print a sample and adjust the print scale until you can measure exactly 16".
Price of the 12 sheets of the 1/6 scale Fairey Swordfish 1/6 Scale, in PDF format is $35.00USD.
I think that the PDF route is the best way to go. You can print of the plans on legal size paper and forgo full size plans!
The interlocking construction ensure that all parts can be accurately assembled-you will need a flat building surface, for the wings.
Note that the 1/16" balsa cores for the ailerons,elevators, fin and rudder are laser printed with part positions so full size layouts are not required. for these parts.
The RC Fairey Swordfish-1/6 Scale Kit
The Fairey Swordfish is available as a full kit with all parts needed to construct a beautiful 1/6 scale RC biplane.
Electric, glow or a gas engine for power.
Click here to visit the page with all the information.
More Information of other RC Airplane Plans

This is a link to another page on this site, that has more details of other RC airplane plans , designed by myself.
All are available as paper plans or PDF files that you can print locally.
Laser cut parts are offered for each of the RC airplane plans listed.
Get Gloster Gladiator Profile eBook Free

Don't worry your e-mail address is totally secure.


Recent Articles
-
The Bristol Bulldog vintage biplane, of the RAF, in 1930
May 22, 23 10:47 AM
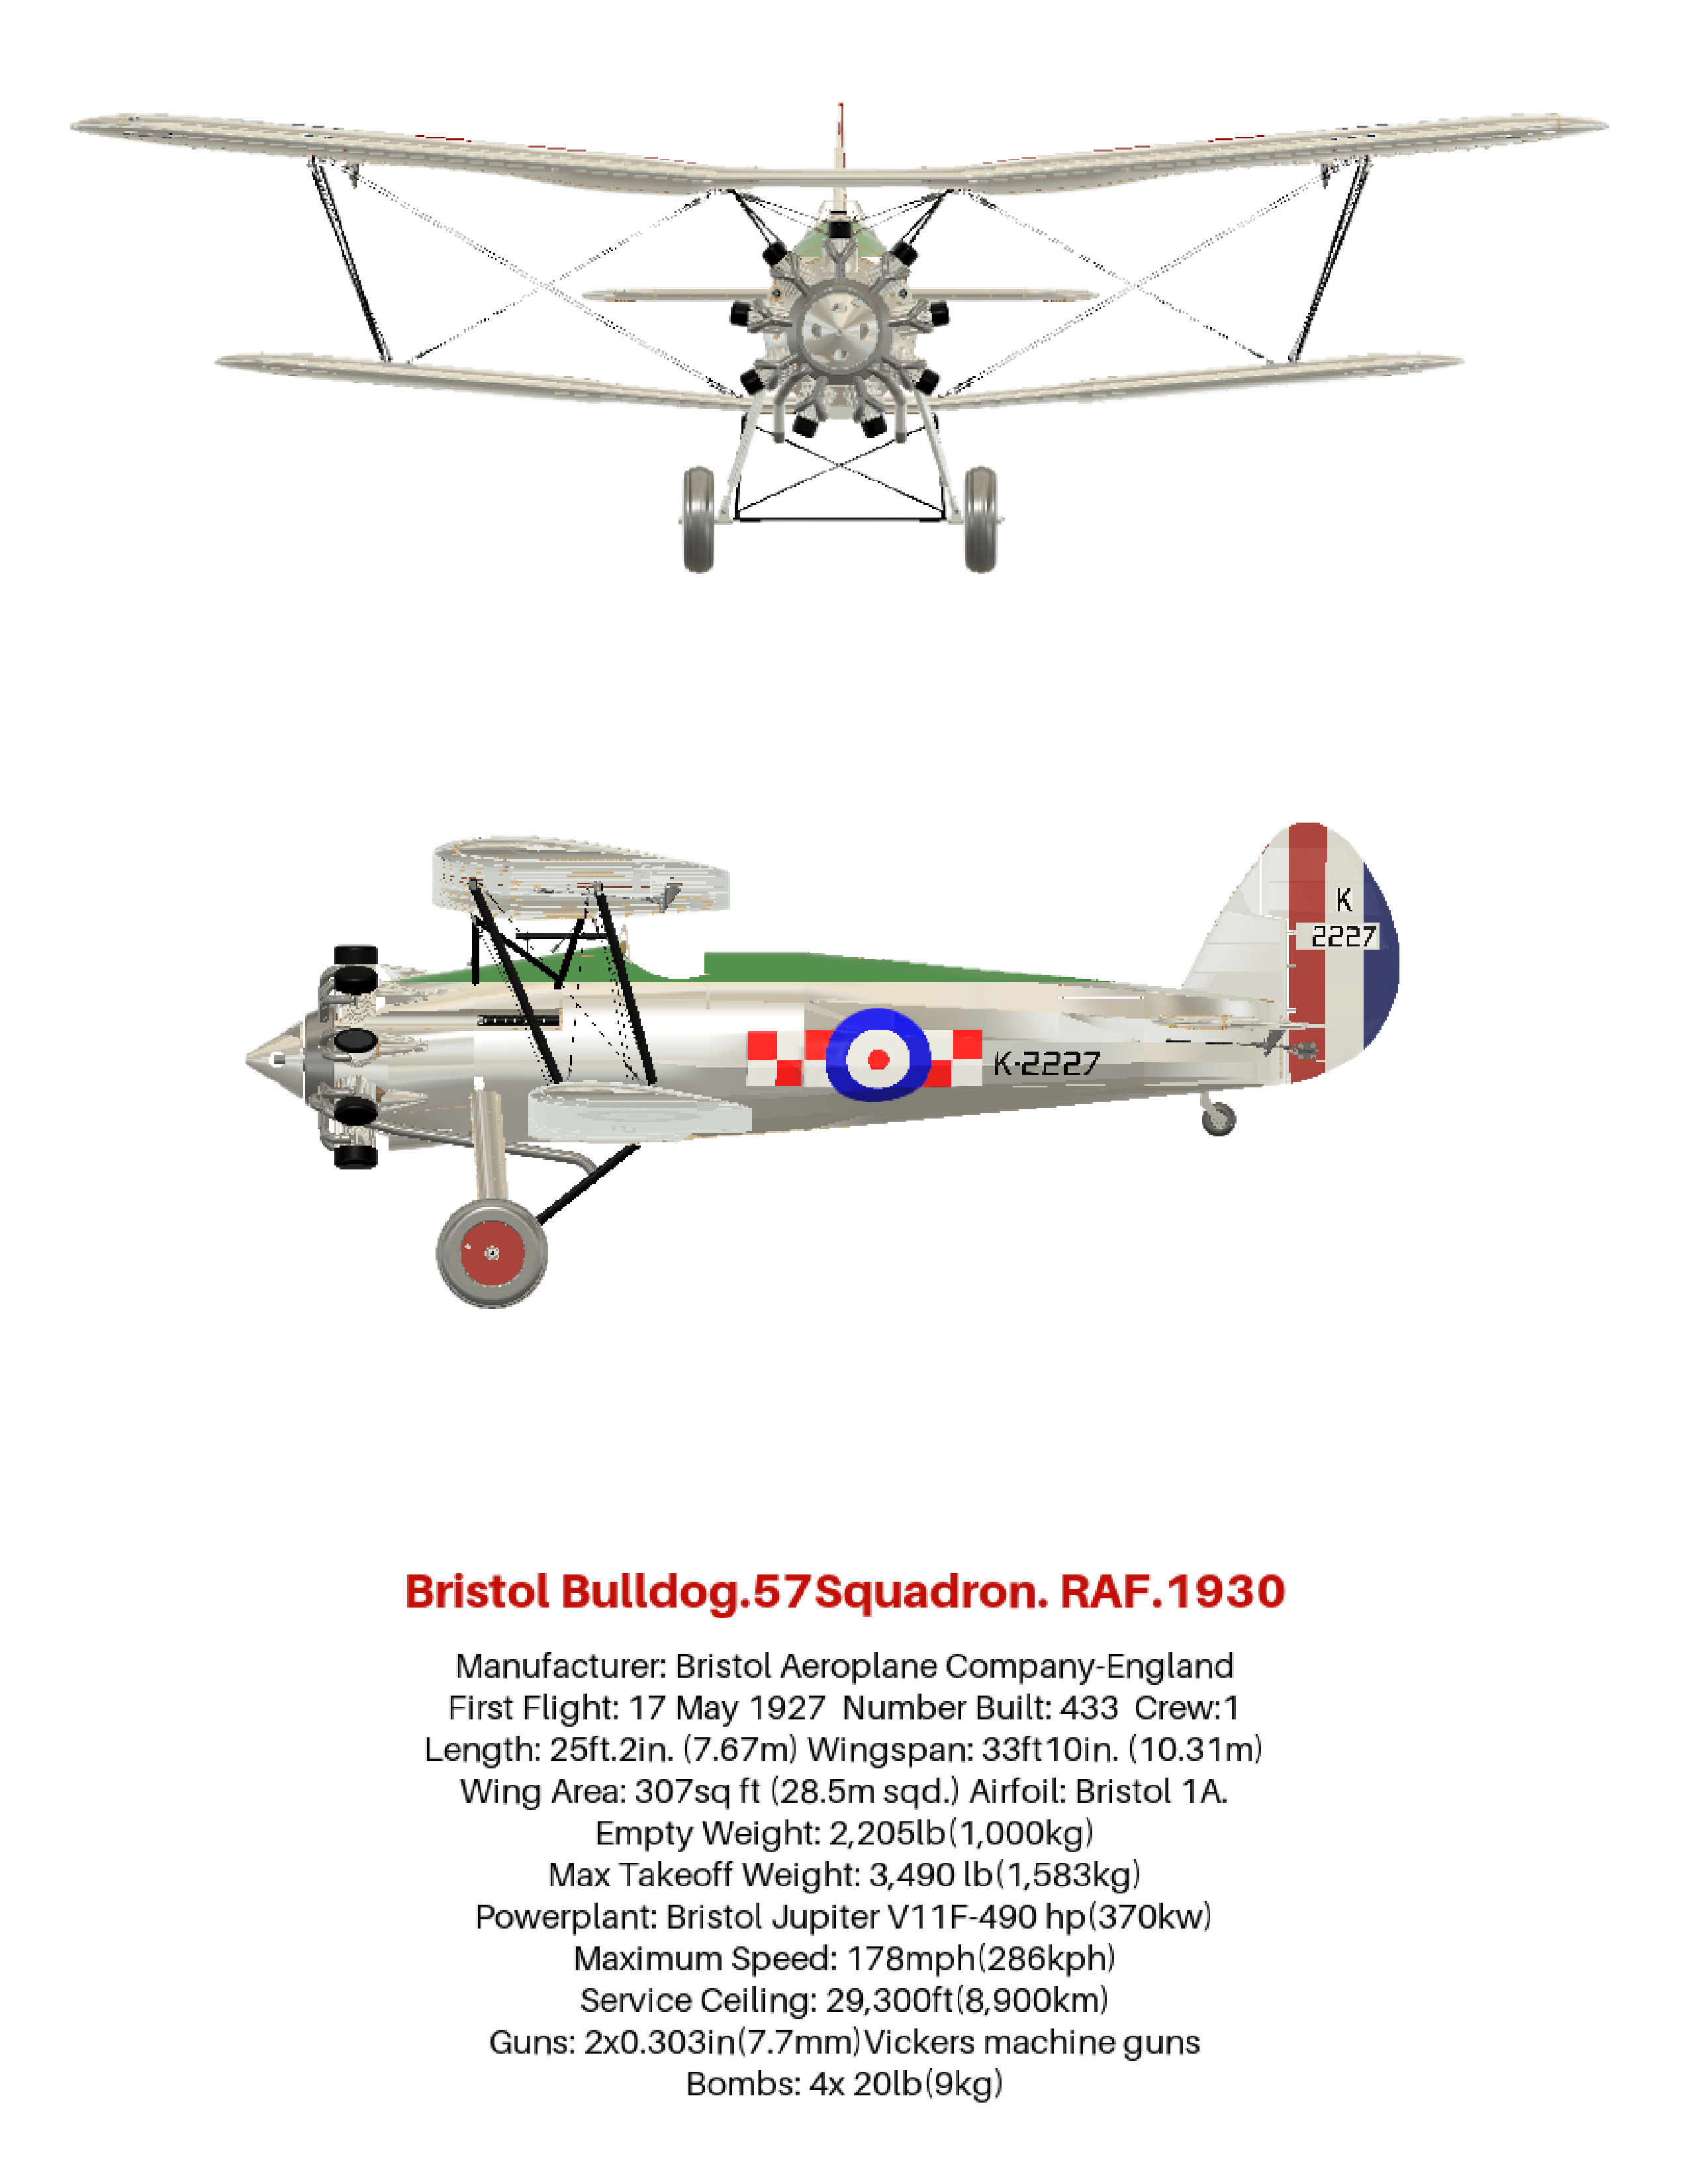 How the aviation art, of the Bristol Bulldog vintage biplane, was produced, using 3D software. Included are photos and links to many aviation gifts, from Zazzle
 -
Aviation gifts For All Airplane Lovers
Apr 20, 23 11:12 AM
 Aviation gifts for every occasion. Give your airplane fanatic friends and relatives the present they will really appreciate! Can be customized to make it truly unique.
 -
RC Retractable Landing Gear: The JP Hobby ER-005 Metal Strut Set.
Dec 19, 22 01:55 PM
 Full details of RC retractable landing gear. For models up to 6 Kg (13.2 lbs). Steerable nose wheel and sequencer for gear doors and brakes. For grass strips.
 -
FLEX RV-8 70CC FLS:ARF and ARFSV.
Nov 02, 22 02:45 PM
 The Flex RV-8 70cc, 35% Scale, 3D RC Airplane. Super lightweight and gas or electric power. Very complete and fast assembly.
New! Comments
Have your say about what you just read! Leave me a comment in the box below.