Covering with Monokote, UltraCote and other heat shrink materials
How to apply monokote heat shrink material to RC airplanes. A complete listing of the tools required to achieve a first class finish.
 Top Flite AT-6 60 size ARF covered with Monokote
Monokote is a heat shrink film for model planes, manufactured in many colors and finishes by Top Flite . Visit the Horizon Hobby site for more information and a look at all that is available.
Surface Preparation
The preparation of the surface, prior to covering, is vital to a good final finish. Any covering material, will not hide imperfections. In fact it will magnify them!
Take a look at the structure and ensure that you have ample areas to iron down the covering at all the spots. Look at hatches especially and add flat areas, if required. A 1/4" (6.3mm) wide strip is usually a minimum.
The use of a good sanding block, on all surfaces, is essential. Do NOT try and sand, without a block of some kind. A flat surface can never be achieved without one. Great planes have come up with 3 lengths of extruded aluminum bars, that use self adhesive sandpaper. This makes it very quick and easy to change worn-out sandpaper.

This photo shows the longest model available-
The Great Planes Easy-Touch Bar Sander 22" This is perfect for wing panels or sanding sheeted leading edges or complete wing and tail panels.

Here we see the Easy-Touch Bar Sander 11" . I have 2 of these, one with fine sandpaper (180 Grit) and the second with coarse paper (80 Grit). I clearly mark the back of the bar with a large letter 'F" of "C", so as to make selection easier.

Finally we have the smallest of the range- the Great Planes Easy-Touch Hand Sander 5.5"
This model is great for the smaller planes and getting into those tight areas.


Here we have the self adhesive sandpaper, in two grades. The 80 Grit (Course), is on the left and the Fine (220 Grit) is on the right.
The only criticism I have of this system is that the paper is about 1/8" wider than the bars, so every time a new piece is placed in position, this excess paper must be trimmed off!
But overall this is a very good system and mine has become an important part of the workshop.
Custom Sanding Sticks

Popsicle sticks and short lengths of balsa and spruce can be made into very useful sanding sticks and various diameters of dowel can also be used.
The self adhesive sandpaper can be pressed on and the sheet trimmed to size,
After a while you can have a sanding stick for almost any job and I use both grades of paper, depending on the end use.
I have heard it said that the difference between an average finish and a show winning one is sandpaper and elbow grease! Having said that, concentrate on getting a smooth finish with no imperfections and do not get carried away and sand through the balsa!

Any imperfections should be filled with a light weight balsa filler, such as Hobbico Hobby Lite Filler (Balsa Colored)
Let it set overnight and final sand in the morning.
When you are fully satisfied with the finish, the final step is to thoroughly vacuum and blow off the surfaces, the workbench and yourself! One tiny spec of dust can look like a huge imperfection, when it is trapped under Monokote or other covering material.
I like to use the softest brush I can find that will attach to the vacuum and proceed carefully and not "ding" the surface. During the sanding process I keep the Monokote or other covering material out of the area and only bring it in when all the dust has settled.
Covering Tools for Monokote
Irons

There are are many heat sealing tools available, but this model the Coverite 21st Century Iron is different in that the thermostat is in the handle and the manufacturers claim it is quicker to warm up and more accurate in holding a temperature.
I have used this iron for a number of years and it has been very reliable.
I always use it with a sock, that prevents scratches and marks on the Monokote.
Some people use a baby sock and rubber bands to hold it on.

The photo shows the Coverite Sock slipped onto a 21st Century Iron

One other item to mention is the Coverite Pocket Thermometer. I purchased mine many years ago and despite many drops off the workbench it is still working well today. I use it to accurately set the temperature of all my irons, for the covering I am using and the task at hand. (Edge sealing or shrinking)

The last iron we need to consider is the Top Flite Trim Seal Tool
I have two of these, one set-up with the flat shoe and the other with the rounded shoe. I have modified both shoes by polishing the contact surfaces with 400 wet and dry paper and also filing off the little "nubs" that locate the shoes lengthwise in the holder.
This allows the shoes to fit closer to the iron body and therefore get a little hotter. I have also added a hose clip, to the wooded ferrule, that always seems to dry-out and crack.
The photos below show these modifications.
Always keep the shoes as clean as possible. I use a paper towel soaked in rubbing alcohol and try and remember to clean the shoes before I turn on the power. It is much easier to clean a cool shoe than a hot one!


The last item to mention regarding the trim iron is a spare set of shoes. I have lost some, in the workshop but usually I drop the iron to the floor and the flat shoe is very fragile and breaks all too easy!
The Heat Gun

For shrinking Monokote film or fabric type covering, a Top Flite Monokote Heat Gun can be used. Use the iron to tack and then seal all the edges down, with the minimum of creases in the open areas, and then use the heat gun to do the final shrink.It is difficult to gauge the covering temperature, so keep the gun moving and do not spend too long in one spot. It is quite easy to burn right through film! Never actually touch the covering, with the gun nozzle-it gets very hot!
With 1000 Watts of power, the heat gun can also be used for drying paint and some glues as well as shrinking heat shrink tube.
It cab also be used, with the heat off, to blow cool air and dust from areas.
The great advantage is there is no direct contact, with the covering surface and therefore no scratches on the final surface.
Knife Blades

One thing you will need a lot of is a supply of new and sharp #11 knife blades. Buy them in a box of 100 and throw away when dull!
A less then razor sharp edge will pull and tear, especially with Monokote or other films.

A package of single edge razor blades will also be very useful. A sharp cutting edge and a collection of metal straight edges, of various lengths, will make the whole cutting exercise a pleasure.
My collection of straight edges includes a metal yard stick and various lengths of steel ruler, down to a 6" long one.
The Top Flite Woodpecker

The Woodpecker is a perforating tool, that can perforate a balsa finish, prior to covering with Monokote or any other film. That sheeted balsa surface, either a sheeted leading edge or a completely sheeted wing, can be difficult to cover, due to air trapped under the film, thus causing bubbles.
By perforating the surface, the trapped air is allowed to escape. I have not found this to be a problem, when covering with a fabric. The air seems to escape through the fabric surface and bubbles can be ironed down.
The Top Flite Smart Cut Trim Tool

This handy tool ensures that seams are cut straight and are consistent in width. A good seam will disappear, when ironed down.
Overlaps can be either 1/16 in or 1/8 in. Just remember to use fresh, sharp blades.
The Top Flite Smartstipe Cutting Tool

f you would like to cut stripes, in width from 1/64 in to 5 1/4 in wide. then this is the tool to consider.
I use it to make panel lines, usually 1/64 in wide. For more details, take a look at this page.
This tool can be use with Monokote or any type of film or fabric covering.
Cutting surface

Some thought must be given to a cutting surface.
After trying cardboard, layers of newspaper and other stuff that did not really work, I finally tried a thick vinyl drawing board cover.
This really works well! The surface is truly "self healing" and does not blunt the knife blade. It is not cheap but will last you a life time!
Applying the Covering Material
If you are building from a kit or plans, the time to start the covering process, is when all the major components are complete, but not yet assembled. ( I.E fuselage, wings, tail plane and maybe fin and rudder. None of the control surfaces should be assembled.)
I like to fit the hinges into position and ensure that all surfaces move smoothly, before covering. Them I remove the hinges and glue them into final position, after covering.
Bottom surfaces should be covered first and the top surfaces last.
Follow the instructions supplied and make sure you are using the correct temperatures, on the irons. Remember the edge sealing temperature is lower than the material shrink temperature, so keep the hot iron away from sealed edges.
The following videos, from RC Universe, are full of some good tips and show how to accomplish a complex color scheme. Note that both Monokote and UltraCote are used.
I would suggest a quick peak at Video #5, to give you the idea of the final color scheme details. This will make some of the details clear.

Regarding videos, I would also consider buying the Top Flite CD. It too is full of good tips on applying Monokote and if you have little or limited knowledge, it can give you the confidence necessary to start your own masterpiece!
- Home ›
- RC Airplanes ›
- Monokote

Get Gloster Gladiator Profile eBook Free

Don't worry your e-mail address is totally secure.


Recent Articles
-
The Bristol Bulldog vintage biplane, of the RAF, in 1930
May 22, 23 10:47 AM
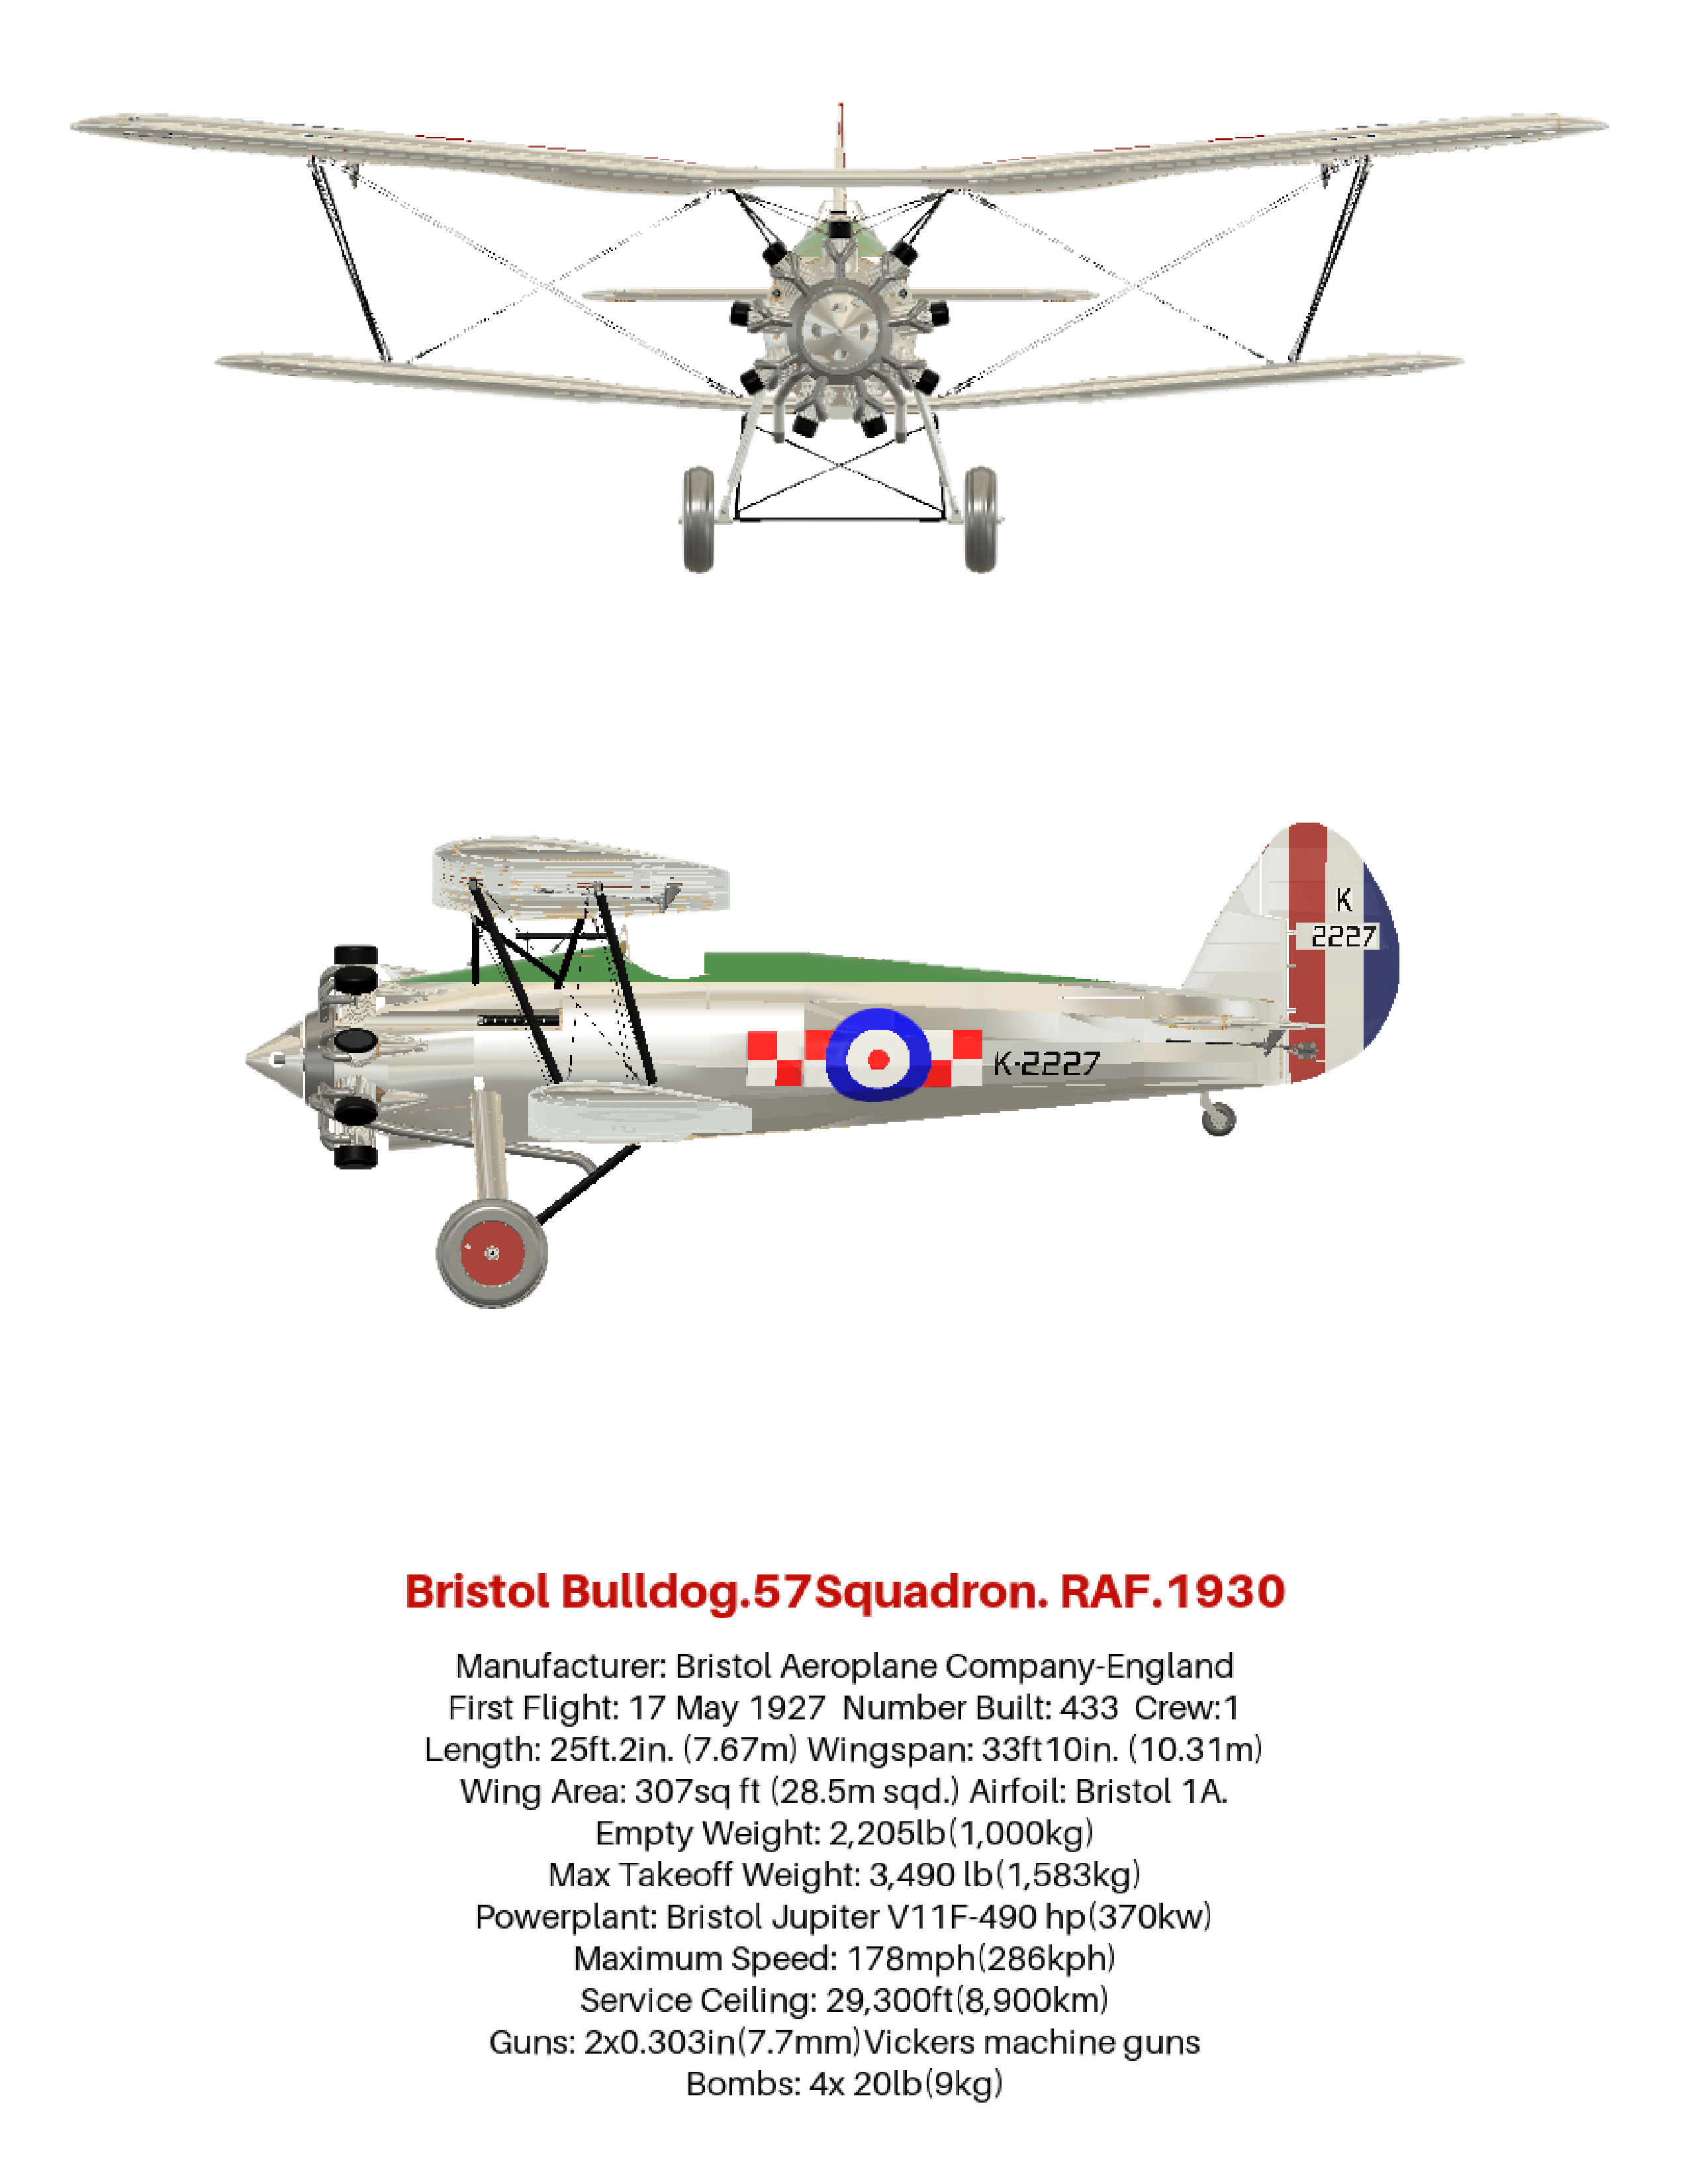 How the aviation art, of the Bristol Bulldog vintage biplane, was produced, using 3D software. Included are photos and links to many aviation gifts, from Zazzle
 -
Aviation gifts For All Airplane Lovers
Apr 20, 23 11:12 AM
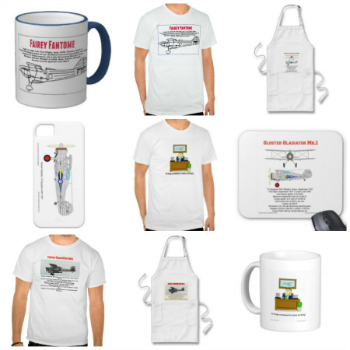 Aviation gifts for every occasion. Give your airplane fanatic friends and relatives the present they will really appreciate! Can be customized to make it truly unique.
 -
RC Retractable Landing Gear: The JP Hobby ER-005 Metal Strut Set.
Dec 19, 22 01:55 PM
 Full details of RC retractable landing gear. For models up to 6 Kg (13.2 lbs). Steerable nose wheel and sequencer for gear doors and brakes. For grass strips.
 -
FLEX RV-8 70CC FLS:ARF and ARFSV.
Nov 02, 22 02:45 PM
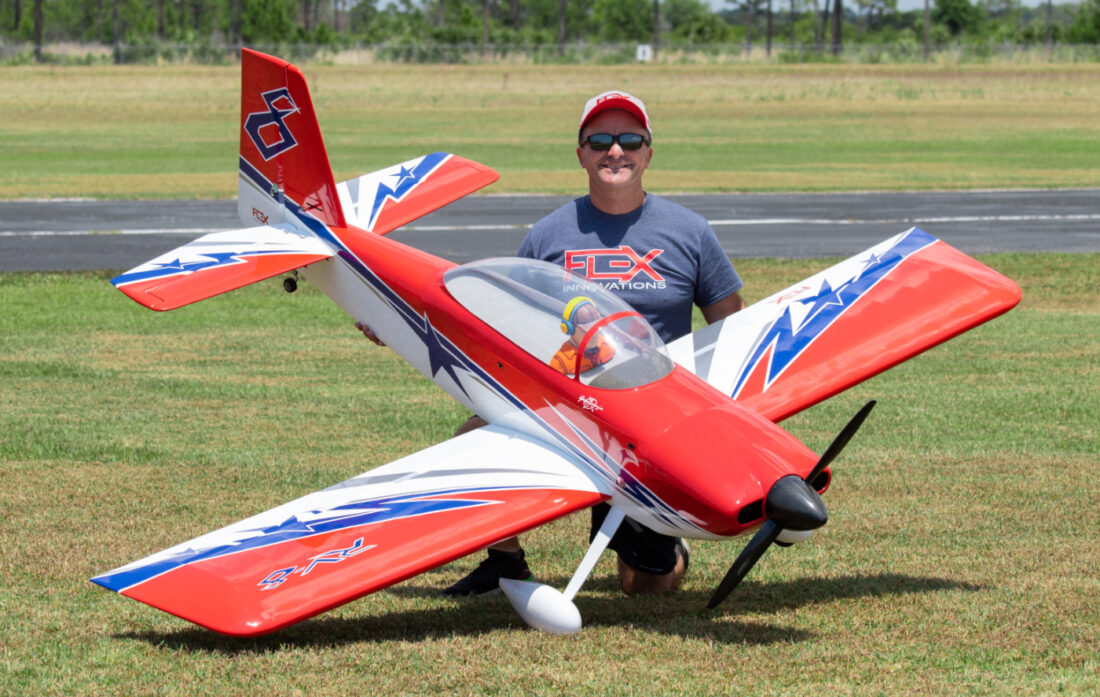 The Flex RV-8 70cc, 35% Scale, 3D RC Airplane. Super lightweight and gas or electric power. Very complete and fast assembly.
New! Comments
Have your say about what you just read! Leave me a comment in the box below.